Army Escape Stage Difficulty Ranking
Free-path S–C tiers for ESCAPE ARMY OBBY! themes—practice the sections that actually wipe you.
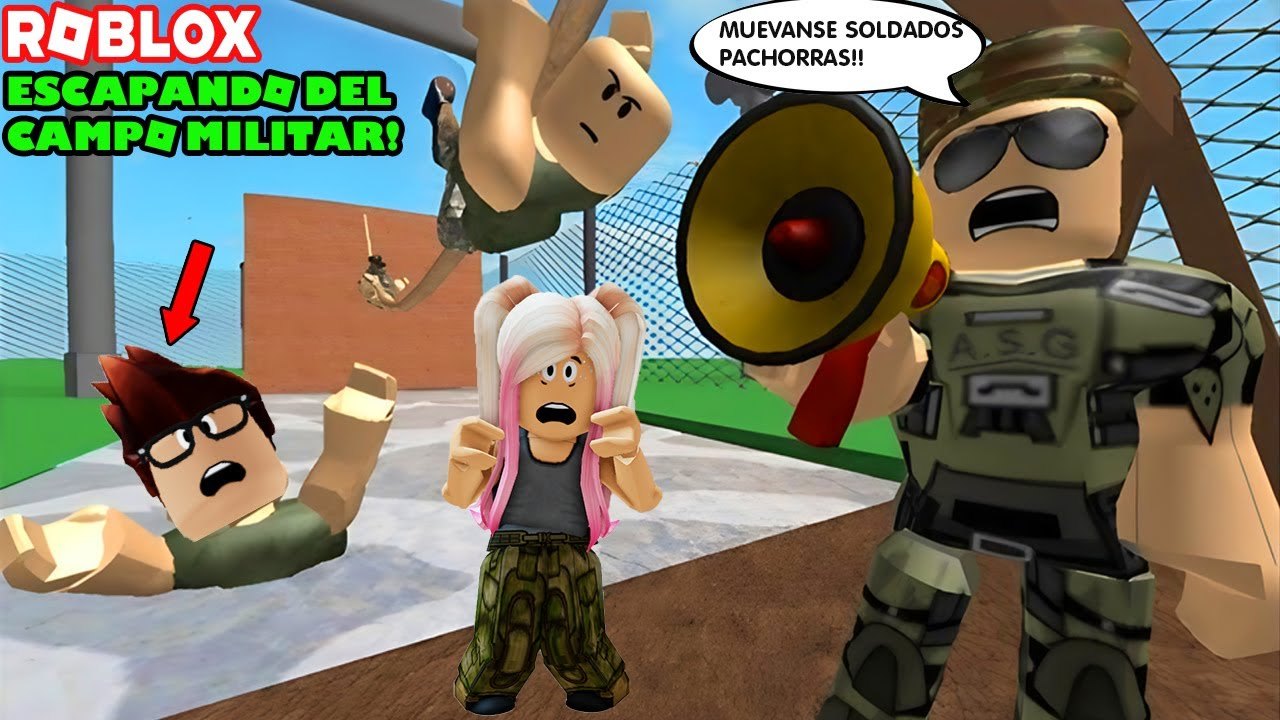
This stage difficulty tier list ranks the pain themes inside Army Escape (ESCAPE ARMY OBBY! by filos on top) for players clearing on a free path. It complements the parent Tier List Hub and the spend-focused gamepass rankings. Use it to decide what to drill for fifteen minutes, not to argue about ego skips.
Assumptions: no Jetpack, no Flying Cloud, no Magic Carpet, no mandatory VIP. Double Jump ownership is noted only as a comparison — the tiers themselves describe default movement. Server size is 10 players, so multiplayer bumps are part of the score.
Ranking criteria (free path)
- Consistency after you know the line (can you succeed ~5/10 attempts?)
- Camera read difficulty — how much FOV and pitch matter
- Punishment length after a fail (short reset vs long walk of shame)
- Multiplayer interference risk on busy pads
- Badge-hunt friction — how often the theme blocks ammo sweeps mid-section
S hurts most. C is warm-up. Rankings are fan judgment for a classic military boot-camp escape with barracks energy, wire, mines, morphs, gears, and a helicopter finish — not an official filos chart.
S-tier — practice these first
Landmine fields
Mines punish panic and tunnel vision. Free players who rush the “fast lane” without a grid habit wipe into long resets. Raise the camera, pick a rail (left / center / right), and commit to pulse movement instead of panic zig-zags. Patience habits live on Tips and Tricks.
Why S: high fail cost, easy to tilt, common wipe magnet on first clears.
Drill plan: checkpoint → three slow clears → one slightly faster clear. Stop when angry.
Helicopter finale / late escape stretch
Finales punish ego. Players who finally feel “almost done” take greedy jumps, ignore spacing on 10-player pads, and fall farther than their pride allows. Treat the helipad fantasy as another checkpoint chain, not a victory lap.
Why S: emotional pressure + thin margins + bump risk.
Drill plan: intentionally reset once on purpose before the last gap so your brain remembers the checkpoint exists. Read Players before carrying friends through the finale.
A-tier — readable but nasty under traffic
Barbed wire corridors
Wire is fair when your camera is high and your timing is patient. It becomes unfair when someone stands in the crawl lane or bumps you mid-animation. Learn the rhythm solo-minded even in public servers.
Why A: skill-readable, but multiplayer turns fair fails into rage.
Camera fix: Controls — raise pitch, avoid floor-level FOV.
Thin barracks beams with busy traffic
Narrow set dressing looks simple until two avatars share the same stud. Leave space, call your jump, and do not revenge-bump. These beams often sit near morph or gear distractions that steal focus.
Why A: low raw complexity, high social modifier.
Drill plan: wait one extra second for traffic to clear; time saved beats a full section reset.
B-tier — newbie filters that stabilize fast
Early boot-camp training lanes
Boot camp teaches jump timing, crate hops, and arrow-path discipline. Deaths here usually mean you skipped Getting Started habits or mashed jump without watching landings.
Why B: harsh for day one, stable after one guided walkthrough pass.
Tip: mark every checkpoint; do not skip pads to look cool for the lobby.
Mid-course climbs and moving platforms
Vertical sections demand clean camera pitch and patience at ledges. They wipe newcomers who look straight down or jump early. Once you learn the beat, consistency rises quickly.
Why B: camera skill check more than RNG.
Free-path note: Grapple Hook or Double Jump softens these later, but you should still clear them once default.
Morph / gear distraction rooms
Morph stands and gear toys are designed to steal attention. Players equip something shiny, forget the exit line, and walk into a hazard they already knew. Treat toys as optional side quests after the pad is secure.
Why B: mental filter, not pure parkour hardness.
Ammo note: secrets often hide near toys — walk the room before you play dress-up.
C-tier — warm-ups and safe pads
Lobby traversal and obvious tutorial jumps
Wide floors, clear arrows, and soft early hops belong here. Use them to test Shift Lock, mobile thumb placement, or a friend’s ping — not as a thirty-minute drill target.
Wide safe pads and regroup spots
If a pad is broad and friendly, it is C. Practice starting from these pads into harder themes rather than grinding the pad itself.
Free-path practice roadmap
- Clear once with the full walkthrough so themes have names.
- Write your personal top three death screens.
- Map them onto S–C using this page.
- Drill only S and A for short sessions.
- If a theme stays S after skill work, then open gamepasses and match a pass to that theme (precision vs flight).
- Keep a note on the Tools Hub checklist so future-you remembers why you bought or skipped.
How stage tiers interact with badges and spends
- Completion badge: your S-tier themes are the real gate — see Badges.
- Ammo Collector: wire borders and mine edges hide last pickups; do not fly past them on the first sweep.
- VIP / group: comfort layers, not stage deletes — VIP and group perks.
- Codes: still none verified; do not wait on a free mobility drop — Codes.
Multiplayer modifiers (add one “soft tier” up)
If the server is full and chaotic, treat A-tier beams and wire as temporary S. Leave space, mute tilt chat, and consider a quieter rejoin. Helping with callouts is welcome; flinging people off helicopter pads is not — Players.
What this list is not
Not a speedrun WR route. Not a claim that paid players “skipped the ranking.” Not an exploit guide (Scripts stay separate with warnings). If a November-class or shop refresh moves collision, re-check Updates and adjust your personal board.
Related reading
- Tier List Hub — philosophy and gamepass overview
- Gamepasses — what to buy after you know your S-tier
- Full Walkthrough — section order and clear advice
- Tips and Tricks — tilt control
- Guides Hub — all tutorials
Pick one S-tier nightmare, drill it from the nearest checkpoint, and stop while you still have patience. Army Escape rewards recruits who respect landmines and finales more than recruits who buy a nametag and hope the course gets nicer. Rank the stage, then rank the spend — never the other way around.
Frequently Asked Questions
Quick answers to the most common questions.
What is S-tier difficulty in Army Escape?
Landmine fields and the helicopter finale for most free-path players—high fail cost and tilt pressure.
Should I practice boot camp or mines first?
If boot camp already feels stable, drill mines and finale next. Boot camp is usually B after one guided clear.
Do gamepasses change these tiers?
Flight and precision passes soften pain, but this page ranks default movement so you know what you are buying relief from.
How do 10-player servers affect rankings?
Busy traffic can bump A-tier beams and wire into temporary S. Leave space or rejoin a quieter server.
Where do I go after ranking my wipe sections?
Drill with Tips and Tricks and the walkthrough, then only open the gamepass tier list if skill work is not enough.